Depth
You only want to pour the pit once so pay close attention to these instructions. The pit for a hydraulic elevator should be 4’ deep, measured from top of finished floor to pit floor. Traction and MRL hydro may be deeper, so check your drawings.
- Our tower’s legs are 3’11” long, made to sit an inch off the pit floor, with grout underneath. This allows for some adjustment if the pit floor isn’t perfect.
- Installation: put a ¾” thick leveling nut and washer on the anchor bolts before lowering the tower down. Adjust the nuts as needed to plumb and level the tower. Install washers and nuts on top of the tower base plates and tighten. Grout below the base plates.
Potential Pitfalls
-
Pit too deep: The base plates can sit more than 1” off the floor, but if the anchor bolts are too short as a result of the extra depth, extra in-field welding will be required to produce a stable connection.
-
Tip: Err on the long side on the anchor bolts. They should protrude a minimum of 3.5”, but making them a few inches longer poses no problem with installation and gives you breathing room if the pit is too deep.
-
Pit too shallow: If minor, this could require grinding away of a bit of concrete around the anchor bolt. If major, the pit might have to be re-poured. Avoid this at all costs! Too deep is better than too shallow!
Length and Width
Make it the right length and width.
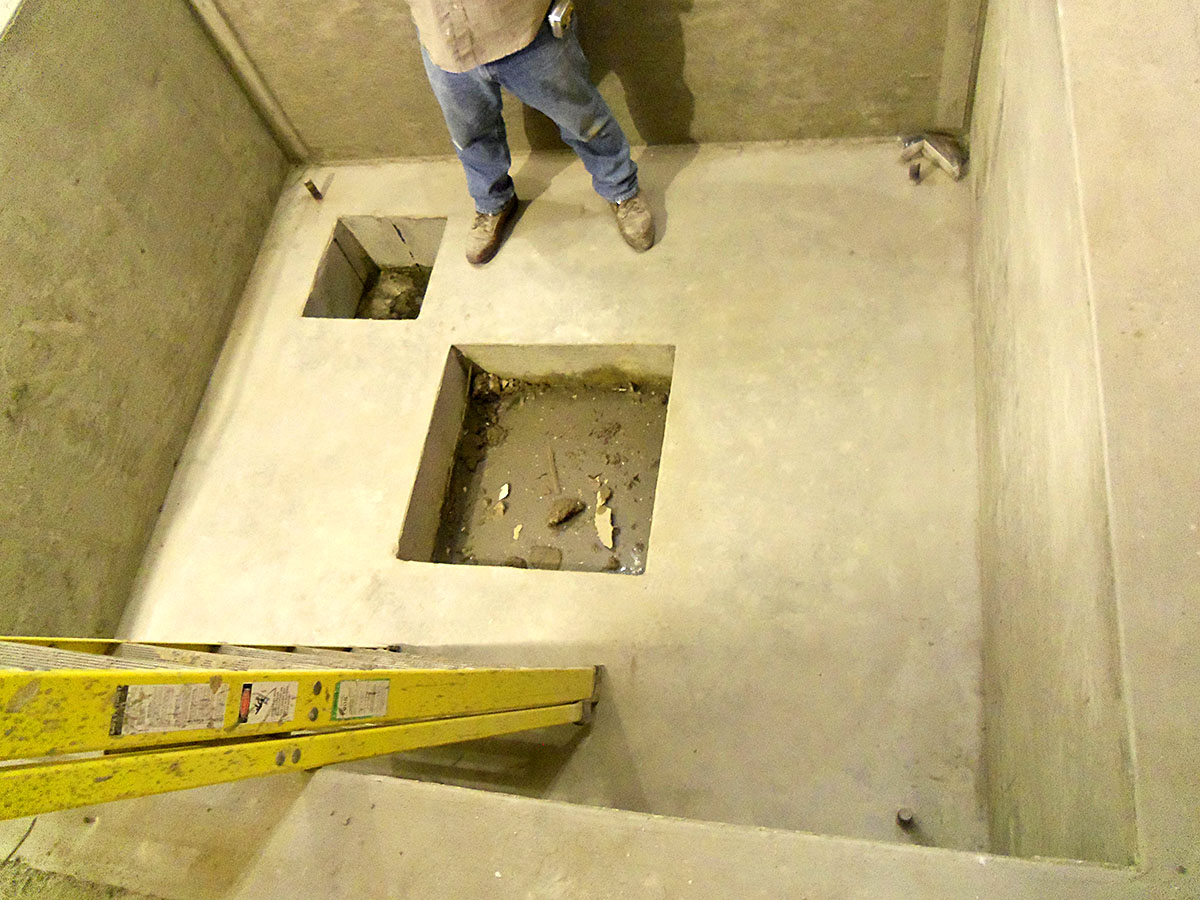
- The pit should be the out-to-out steel dimensions plus 1” on all sides for clearance when sliding the tower into the pit.
- Note that the enclosure of the elevator shaft, stops at the top of the pit. If needed or wanted, for above-ground pits, we can extend that enclosure down further.
Potential Pitfalls
-
Pit too big: Not a big deal. You’ll need to make sure it’s properly flashed to keep out water and fire caulked to maintain the fire resistance of the hoistway.
-
Pit too small: Oops, you’re going to have to tear out some concrete.
-
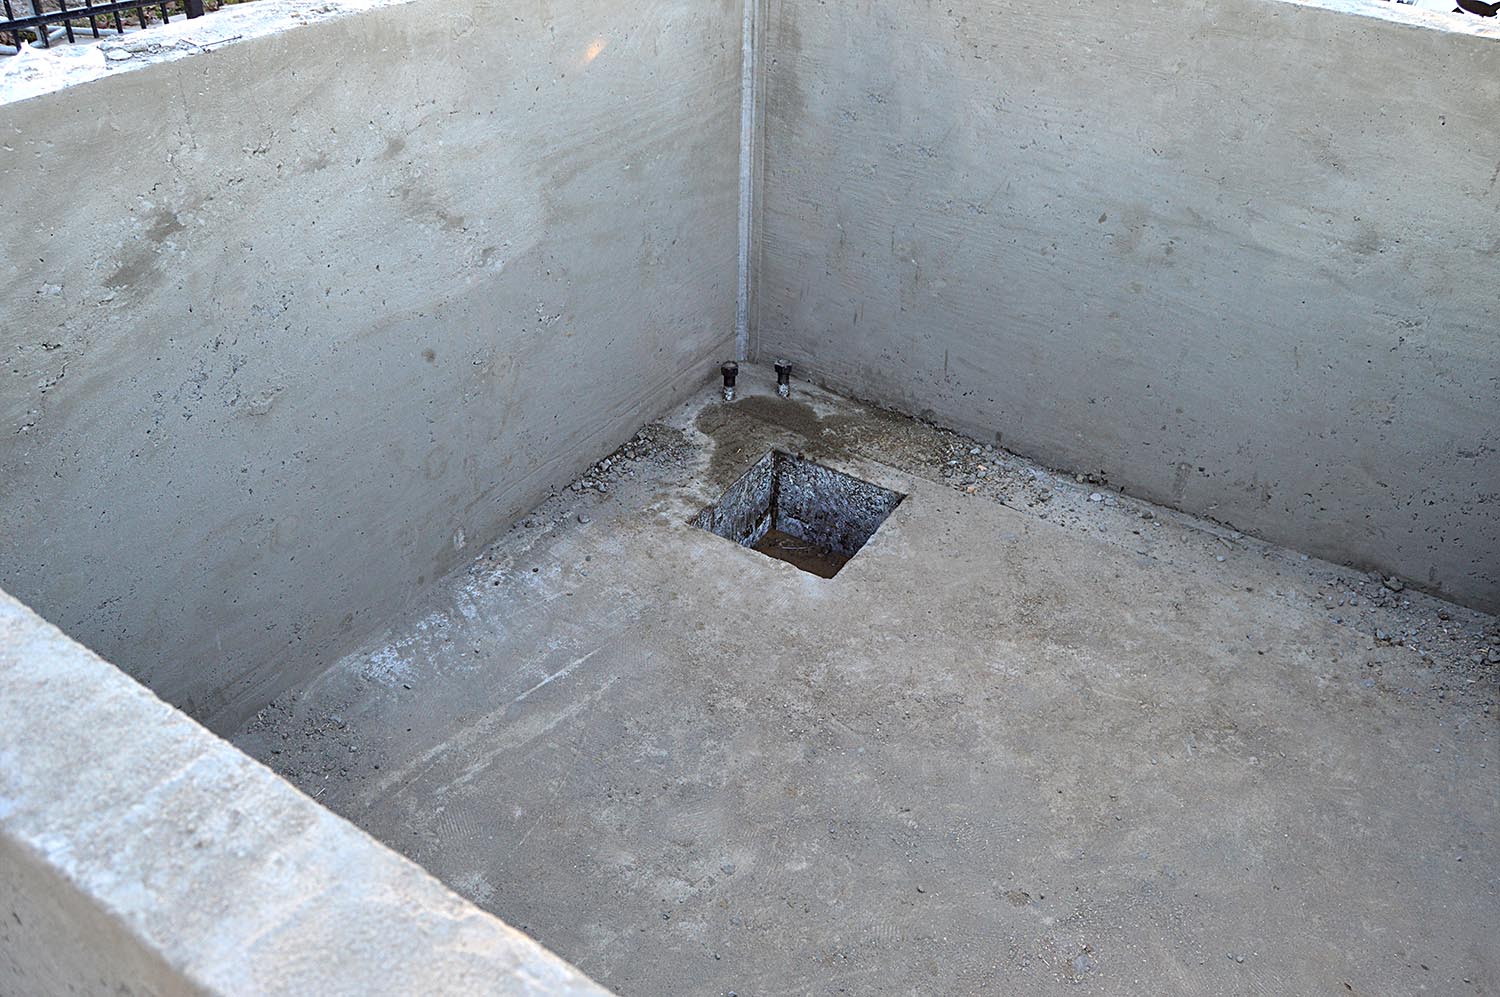
Wall protuberances: The tower slides in right along the walls on its way to the pit floor, so it will catch on any protrusions. Once it’s set, there are openings in the structural framing that piping can be run through. Tip: terminate any penetrations such as PVC liner or piping at the pit wall. Run any piping/electrical after the tower is set. Note that the diagonal rods are for stabilization while uprighting the tower and may be removed after bolting the tower down if they’re in the way.
-
Sump hole in corner: The base plates sit in the 4 corners and need a solid surface to rest on. Tip: If your pit has a sump hole, make sure it’s at least 12” from any corner.
Anchor Bolts

When you pour the pit anchor bolt placement is very important for elevator installation as this directly effects where the modular elevator will be placed. The following are important to remember:
- Distance from building: Make sure to include the building finishes when calculating where to place the “front” anchor bolts. Too far away can be bridged with flooring, drywall, and flashing. Too close means reworking of the anchorage.
- Distance from pit wall: Make sure to leave sufficient room for the tower to slide down the inside of the wall.
- Distance relative to each other: Measure three times. Check your prints twice. Cross square them. This is critical. Incorrect placement may require torching out the base plate holes, moving anchors, or other work to provide alternative anchorage.
If you know in advance that the placement is slightly off, we can widen the base plate holes in the factory, which is easier than doing it in the field.
Other Pit Info
If the lowest stop is above grade, alternative construction can be used:
- The pit floor can be poured as a slab and then walled in afterwards with CMU.
- The elevator shaft can be finished down to the pit level to provide the pit “walls.” Note that you should at least have a short stem wall to keep water out of the pit area.